DIY 2-Way End Table
This DIY end table took a lot of brain power to complete. I'm not exactly sure why because it ended up being super simple. I was inspired by the Crate & Barrel Entu Side Table for this DIY. Because of the shape of the table, I was having trouble figuring out how to hold the pieces together at 90 degree angles. I started off with L brackets on the back and 90 degree brackets in the corners. But in the end these weren't necessary, and just some long screws were the best bet. I really love how this DIY end table turned out. It looks super modern and clean in our new house, and I don't think it looks homemade. It's probably starting to become obvious around here that I love a good DIY end table. I have done a few, and I've got several more coming in the editorial calendar. So I hope you like them! Are you ready for the tutorial for this one?
SUPPLIES
3 15" x 11" x 3/4" wood plank (You can get 11" planks at Home Depot that they will cut for you to whatever size you want. Choose whatever wood looks the prettiest to you.)
1 6" x 11" x 3/4" wood plank
1 14" x 11 x 3/4" wood plank
10 or 8 x 2 1/2 inch black cabinet screws (cabinet screws provide a clean look + are great for when you don't want a screw to protrude from the wood)
drill (this is the drill I have, and it works well)
drill bit
screwdriver drill bit
INSTRUCTIONS
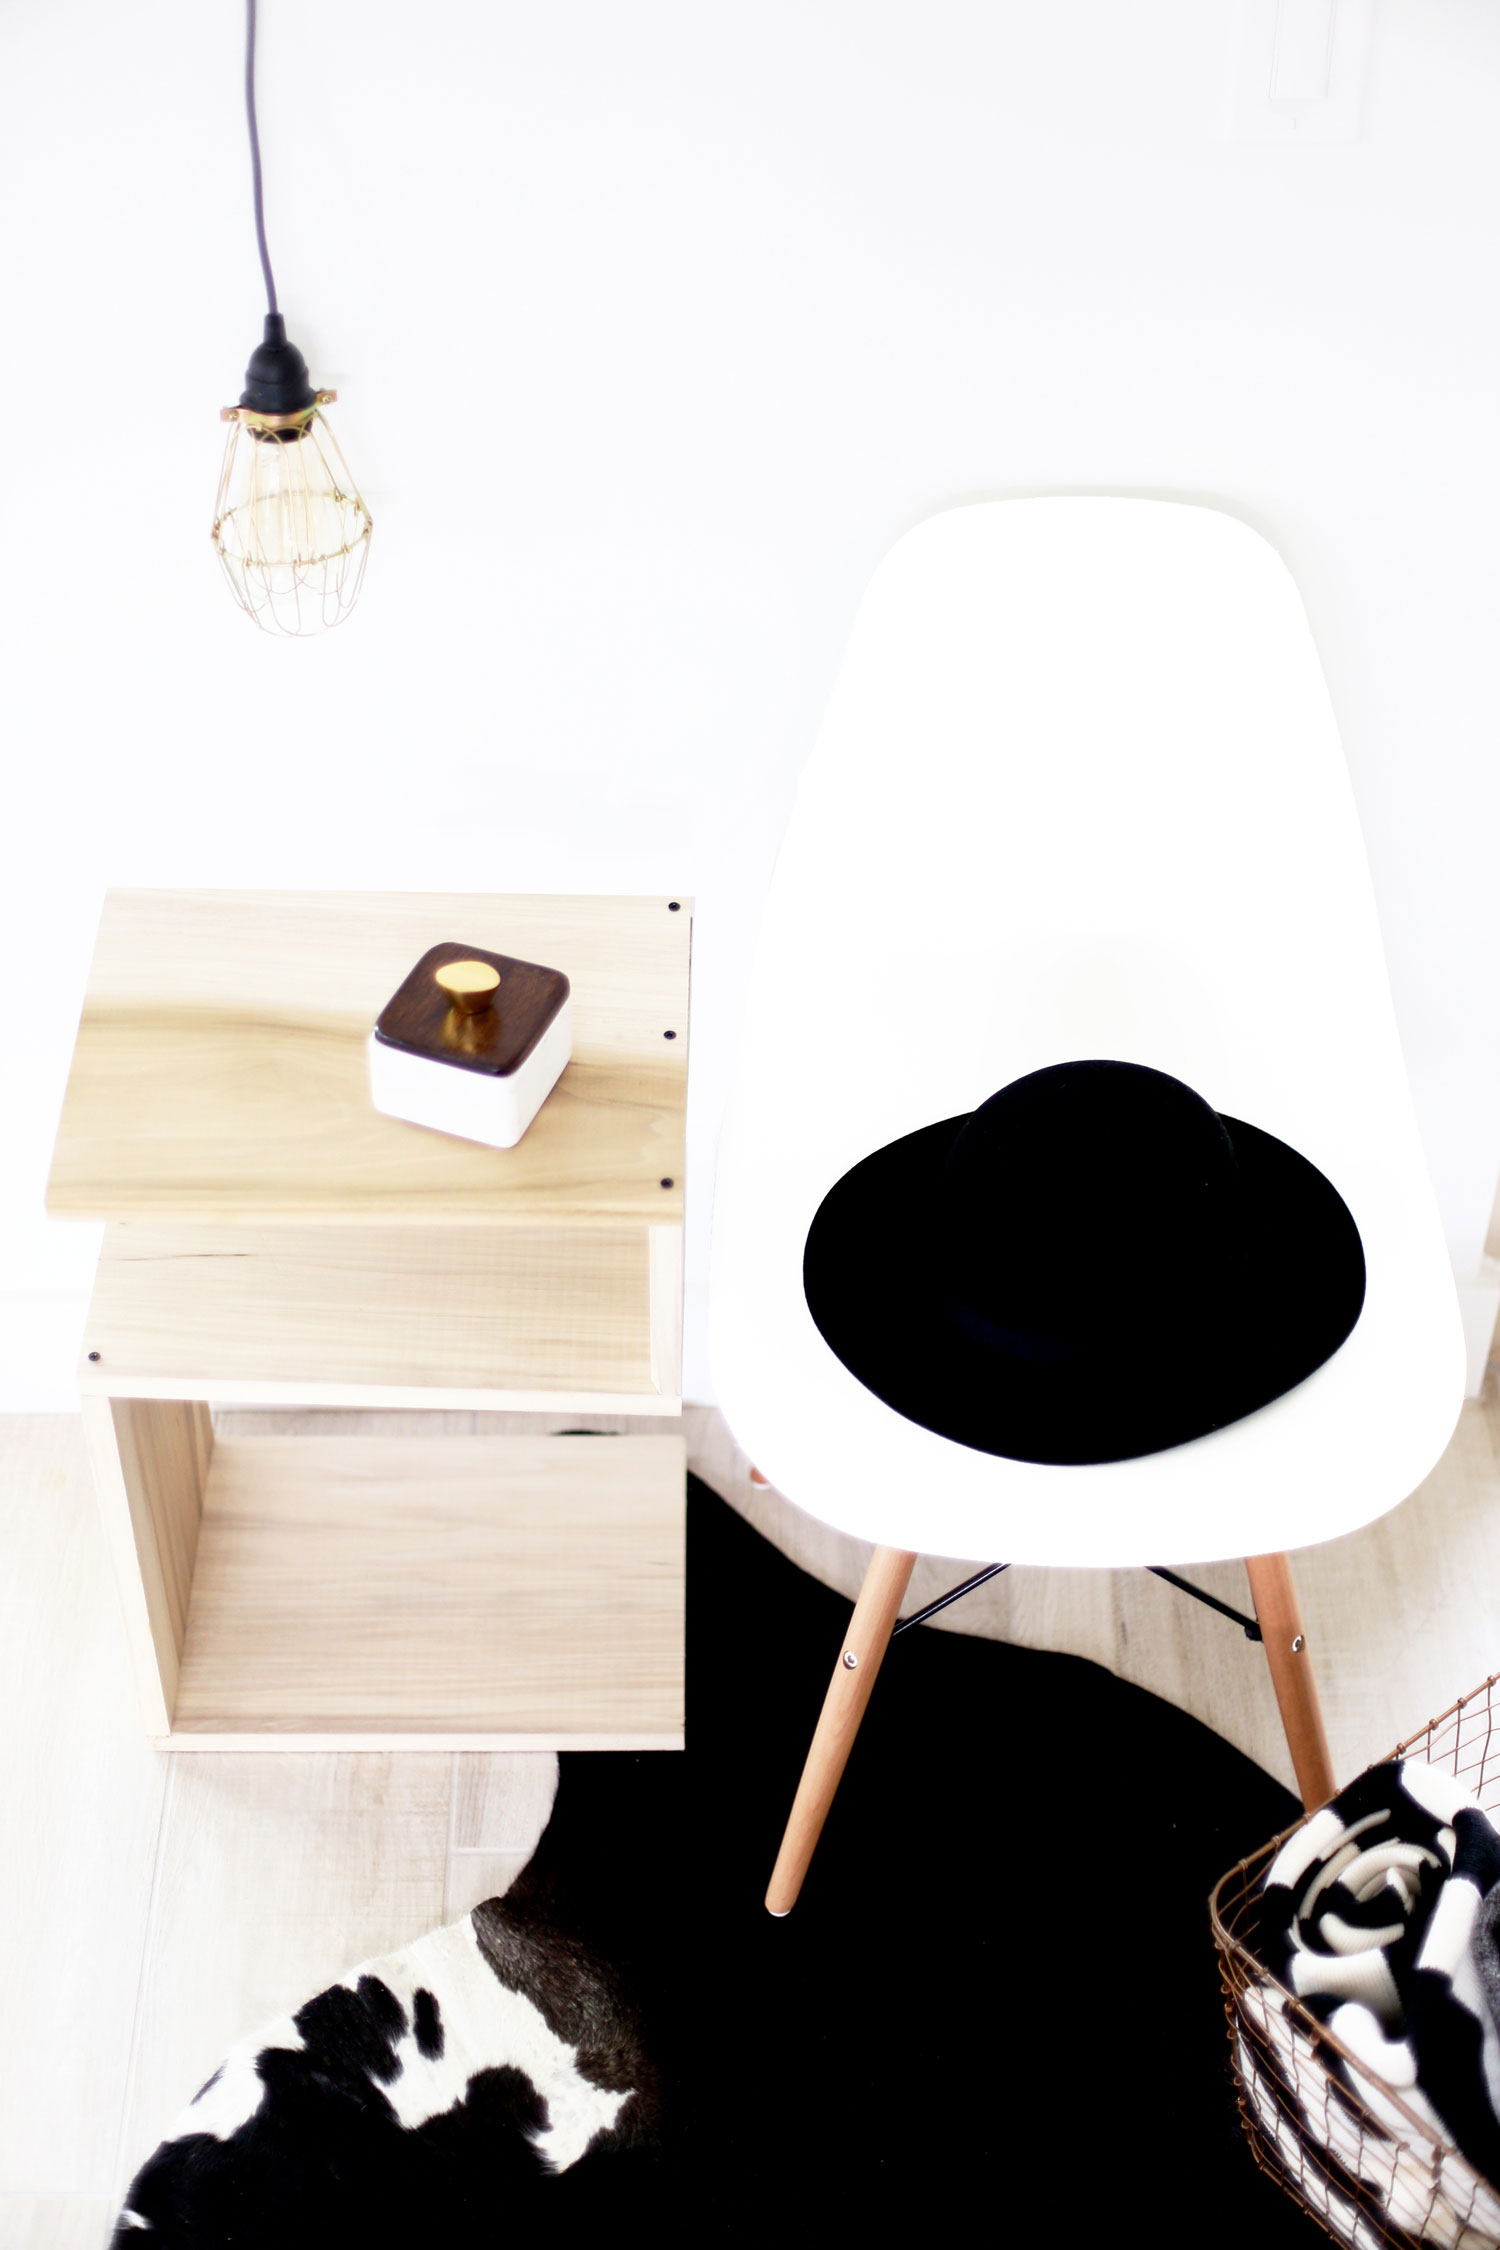
Starting from the bottom up, screw together each wood piece at a 90 degree angle. For determining which piece goes where, refer to the image above. I used three screws per 90 degree angle. To screw the pieces together first drill a hole using a drill bit just smaller than the diameter of your screw. Then use your drill to screw in the screws using a screwdriver drill bit. There is probably a better way to do this, but to keep the wood pieces together at a 90 degree angle, I just braced the pieces together using my legs and feet.
I didn't finish this DIY end table with a stain or a seal because I love the look of the natural wood. However, it requires you to be a bit more careful. Coasters are a must. So if you don't want to be as careful, use a seal or a stain like I did with these DIY shelves.
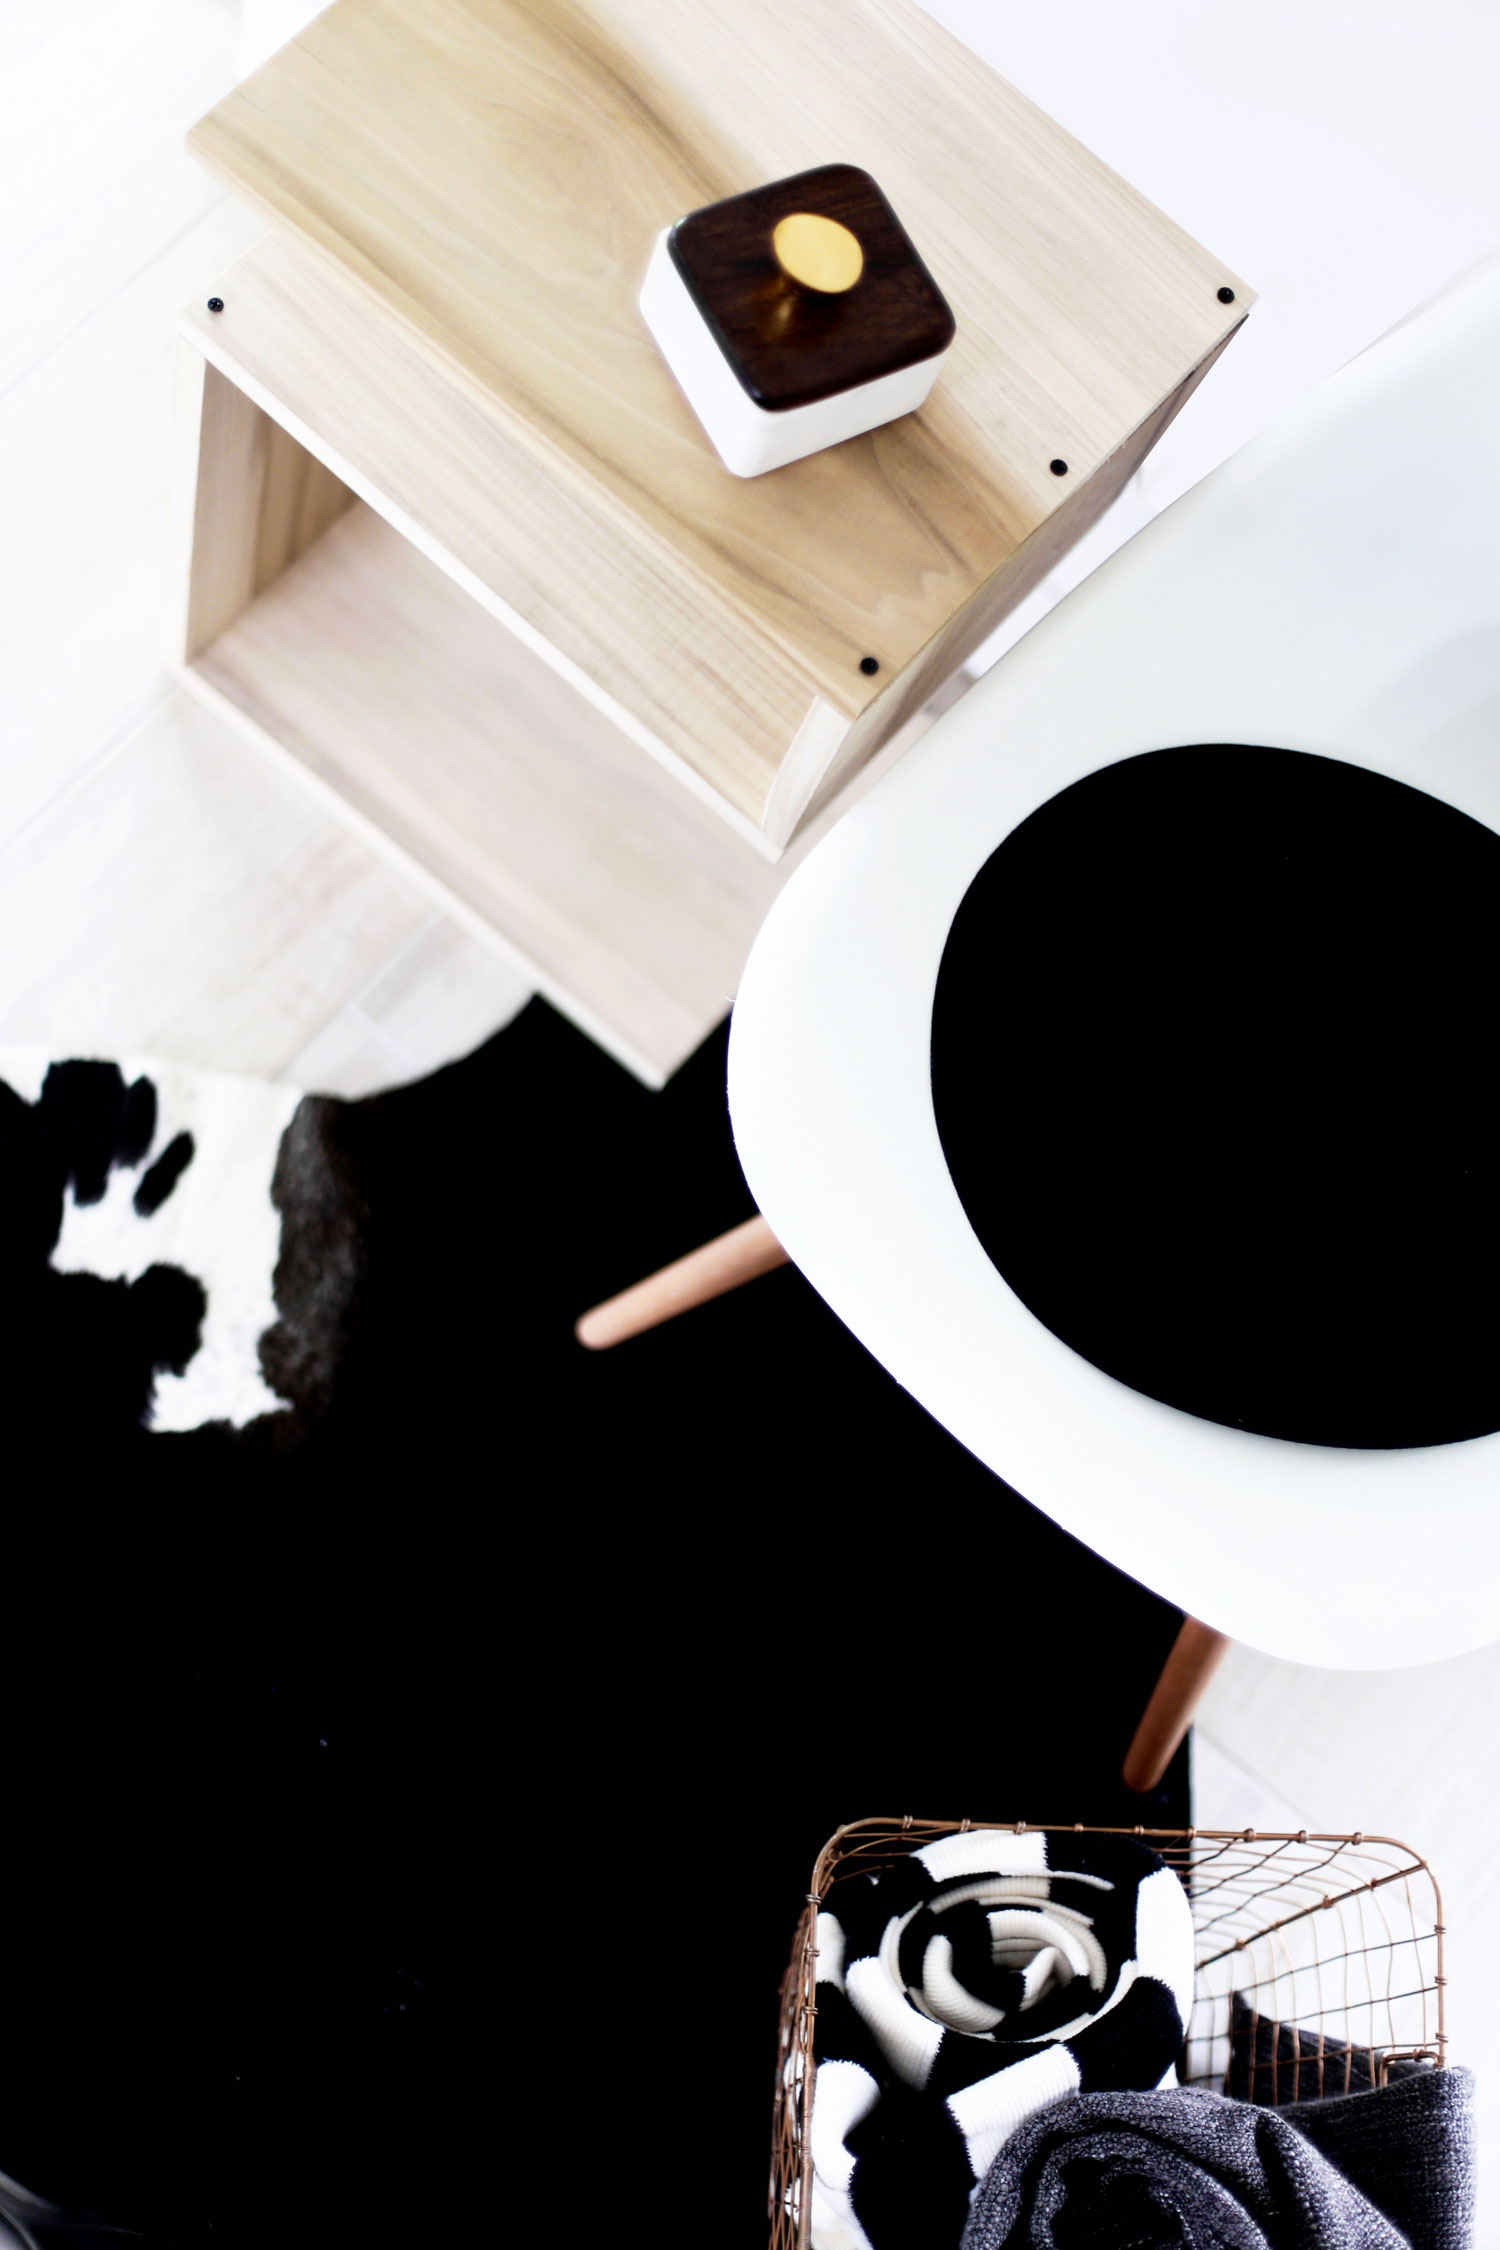
What do you think of this DIY end table from the view up top?! Is it everything you thought it would be? I love how the table looks with this marble and wood box (similar) I originally got for the nursery.
This black hat first appeared in one of my Lil + Man + Me posts in case you recognize it. Man it's one of my faves.
What other ideas do you guys have for a DIY end table? I'd love to hear in the comments.
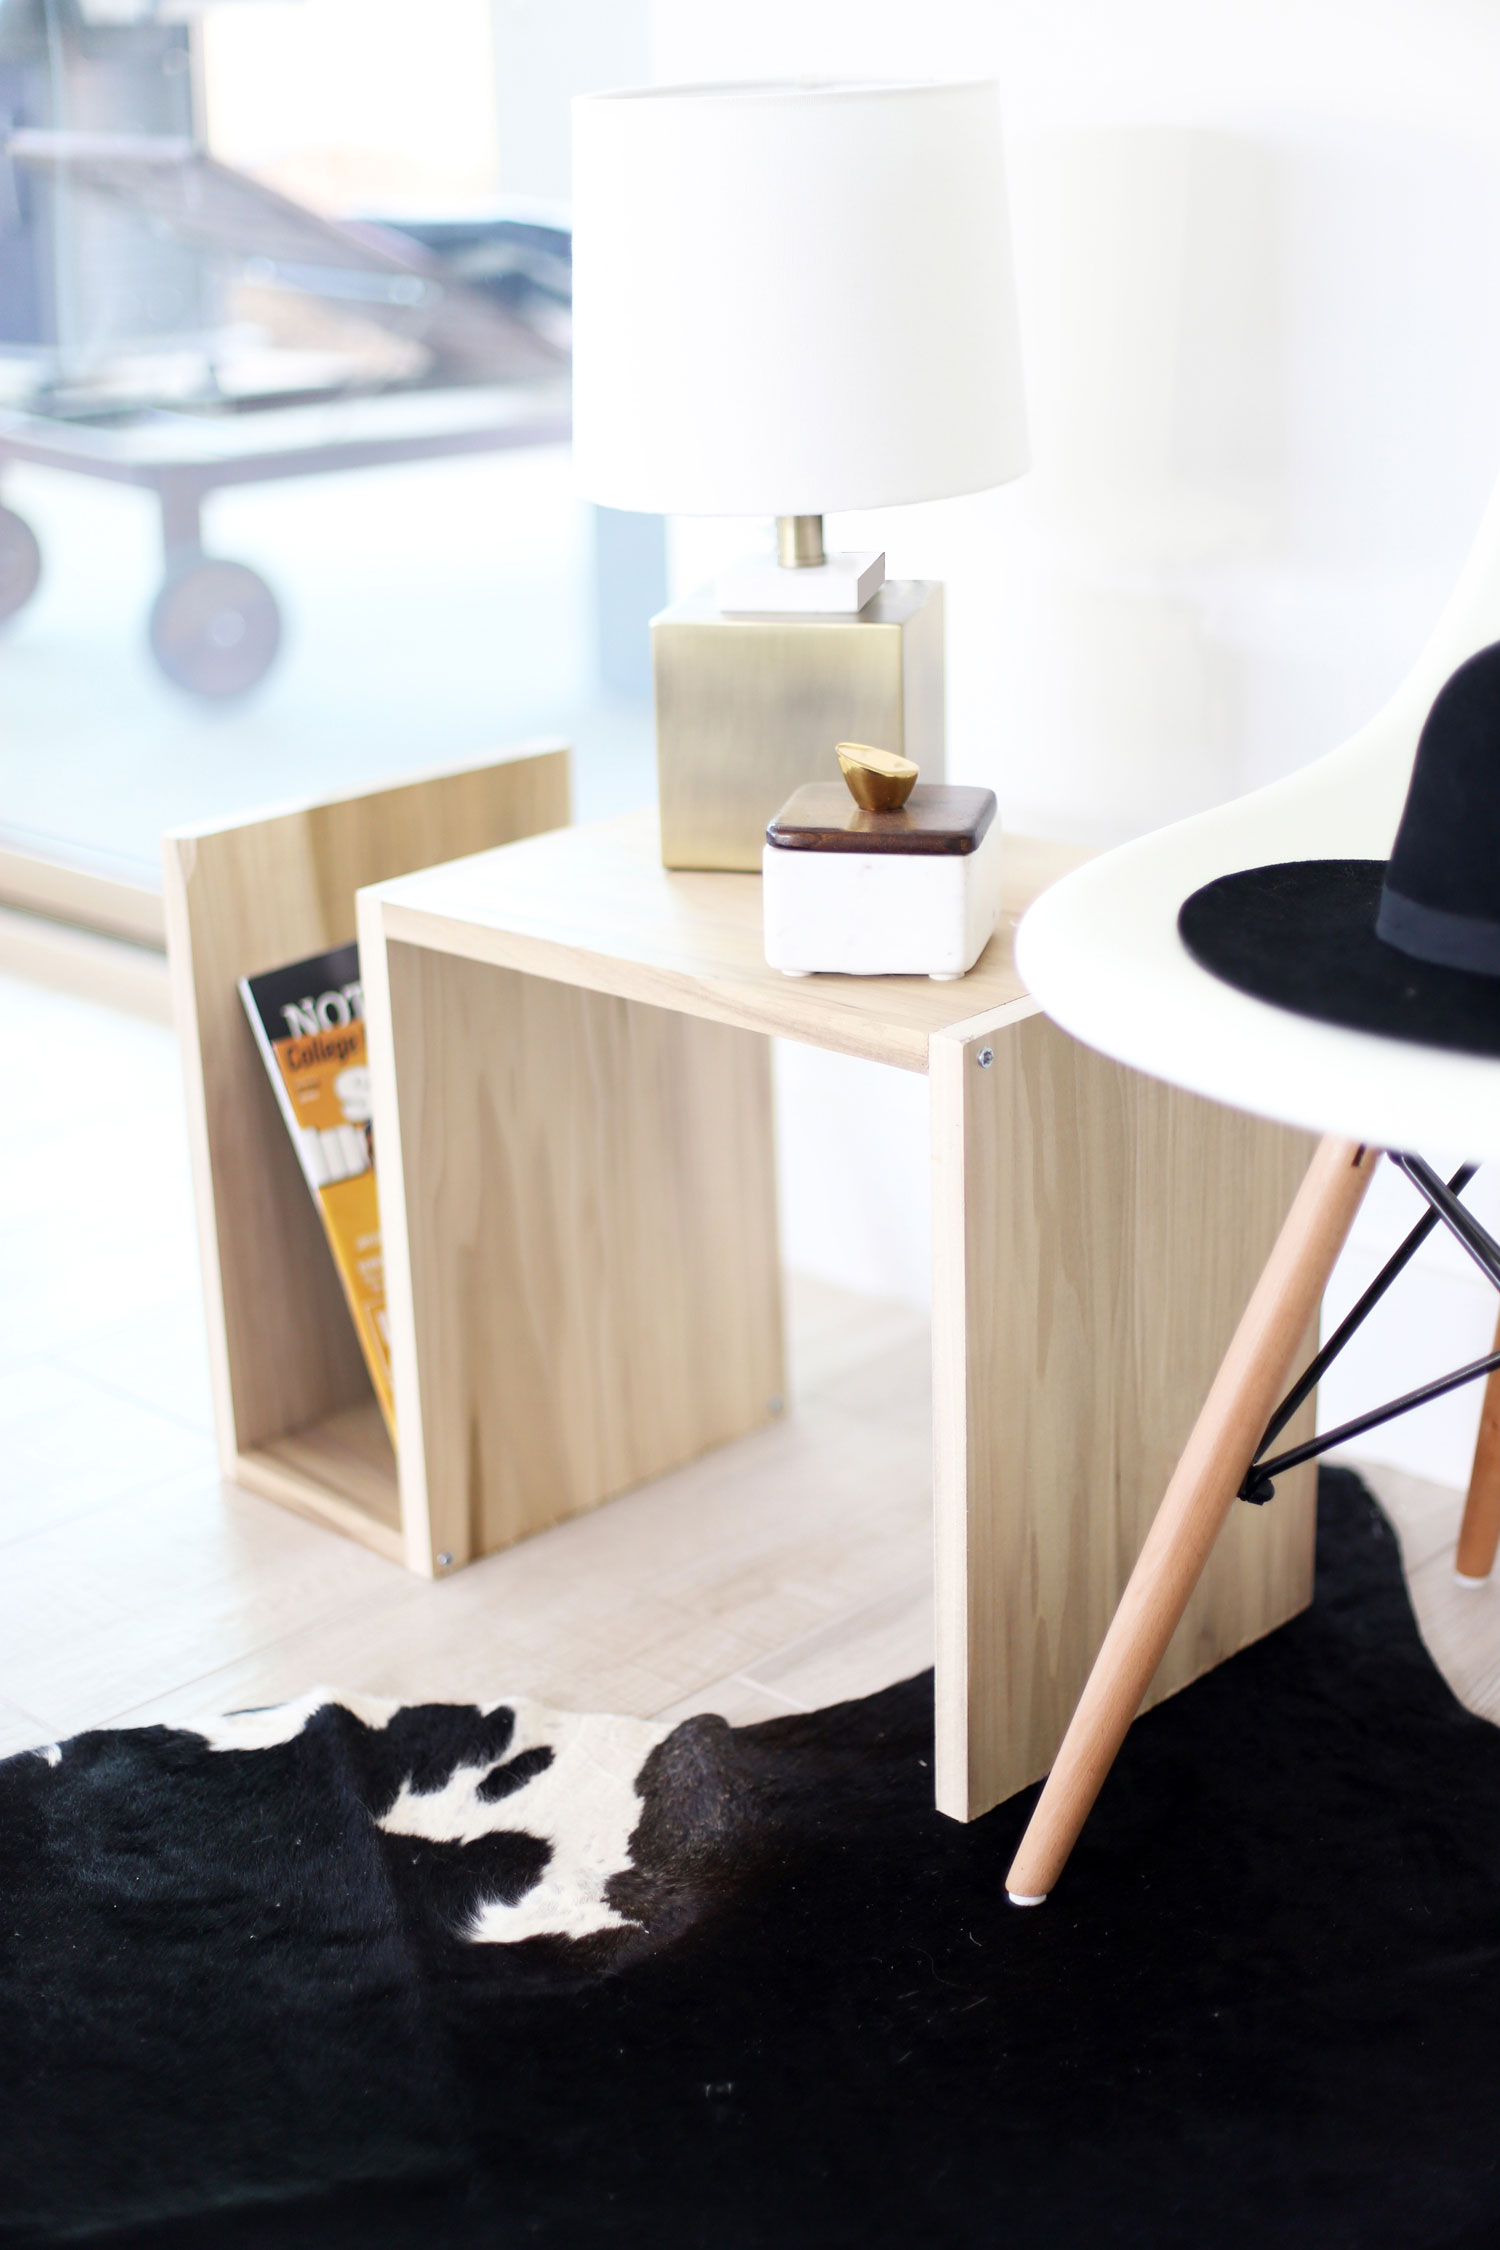
Drumroll please ... this is where the "Turn Down For What?" in the title comes in. The really cool part about this DIY end table is it can be turned on it's side to become a whole new table! Magic! The side slot becomes a perfect spot for magazines, books, or an iPad. How useful is that?!
I'm going to go out on a limb here and say end tables or side tables, whatever you want to call them, might be one of my favorite things to DIY. Bold statement I know. Let's see how long this lasts before I find my next DIY obsession.
I haven't found the forever spot in our home for this DIY end table yet. I will be sure to let you know where it lands for good though.
As my dad would say, here's my story on how to build an end table, and I'm sticking to it. I hope you like it.
I can't decide which way I like the table. What do you think? Which way do you think looks best? Let me know in the comments. Here is a link to another favorite DIY end table in case you are interested.
If you find this post helpful, I would love it if you subscribe below! Subscribers get exclusive DIYs and a free party printable collection just for signing up!
SHOP THIS STORY


