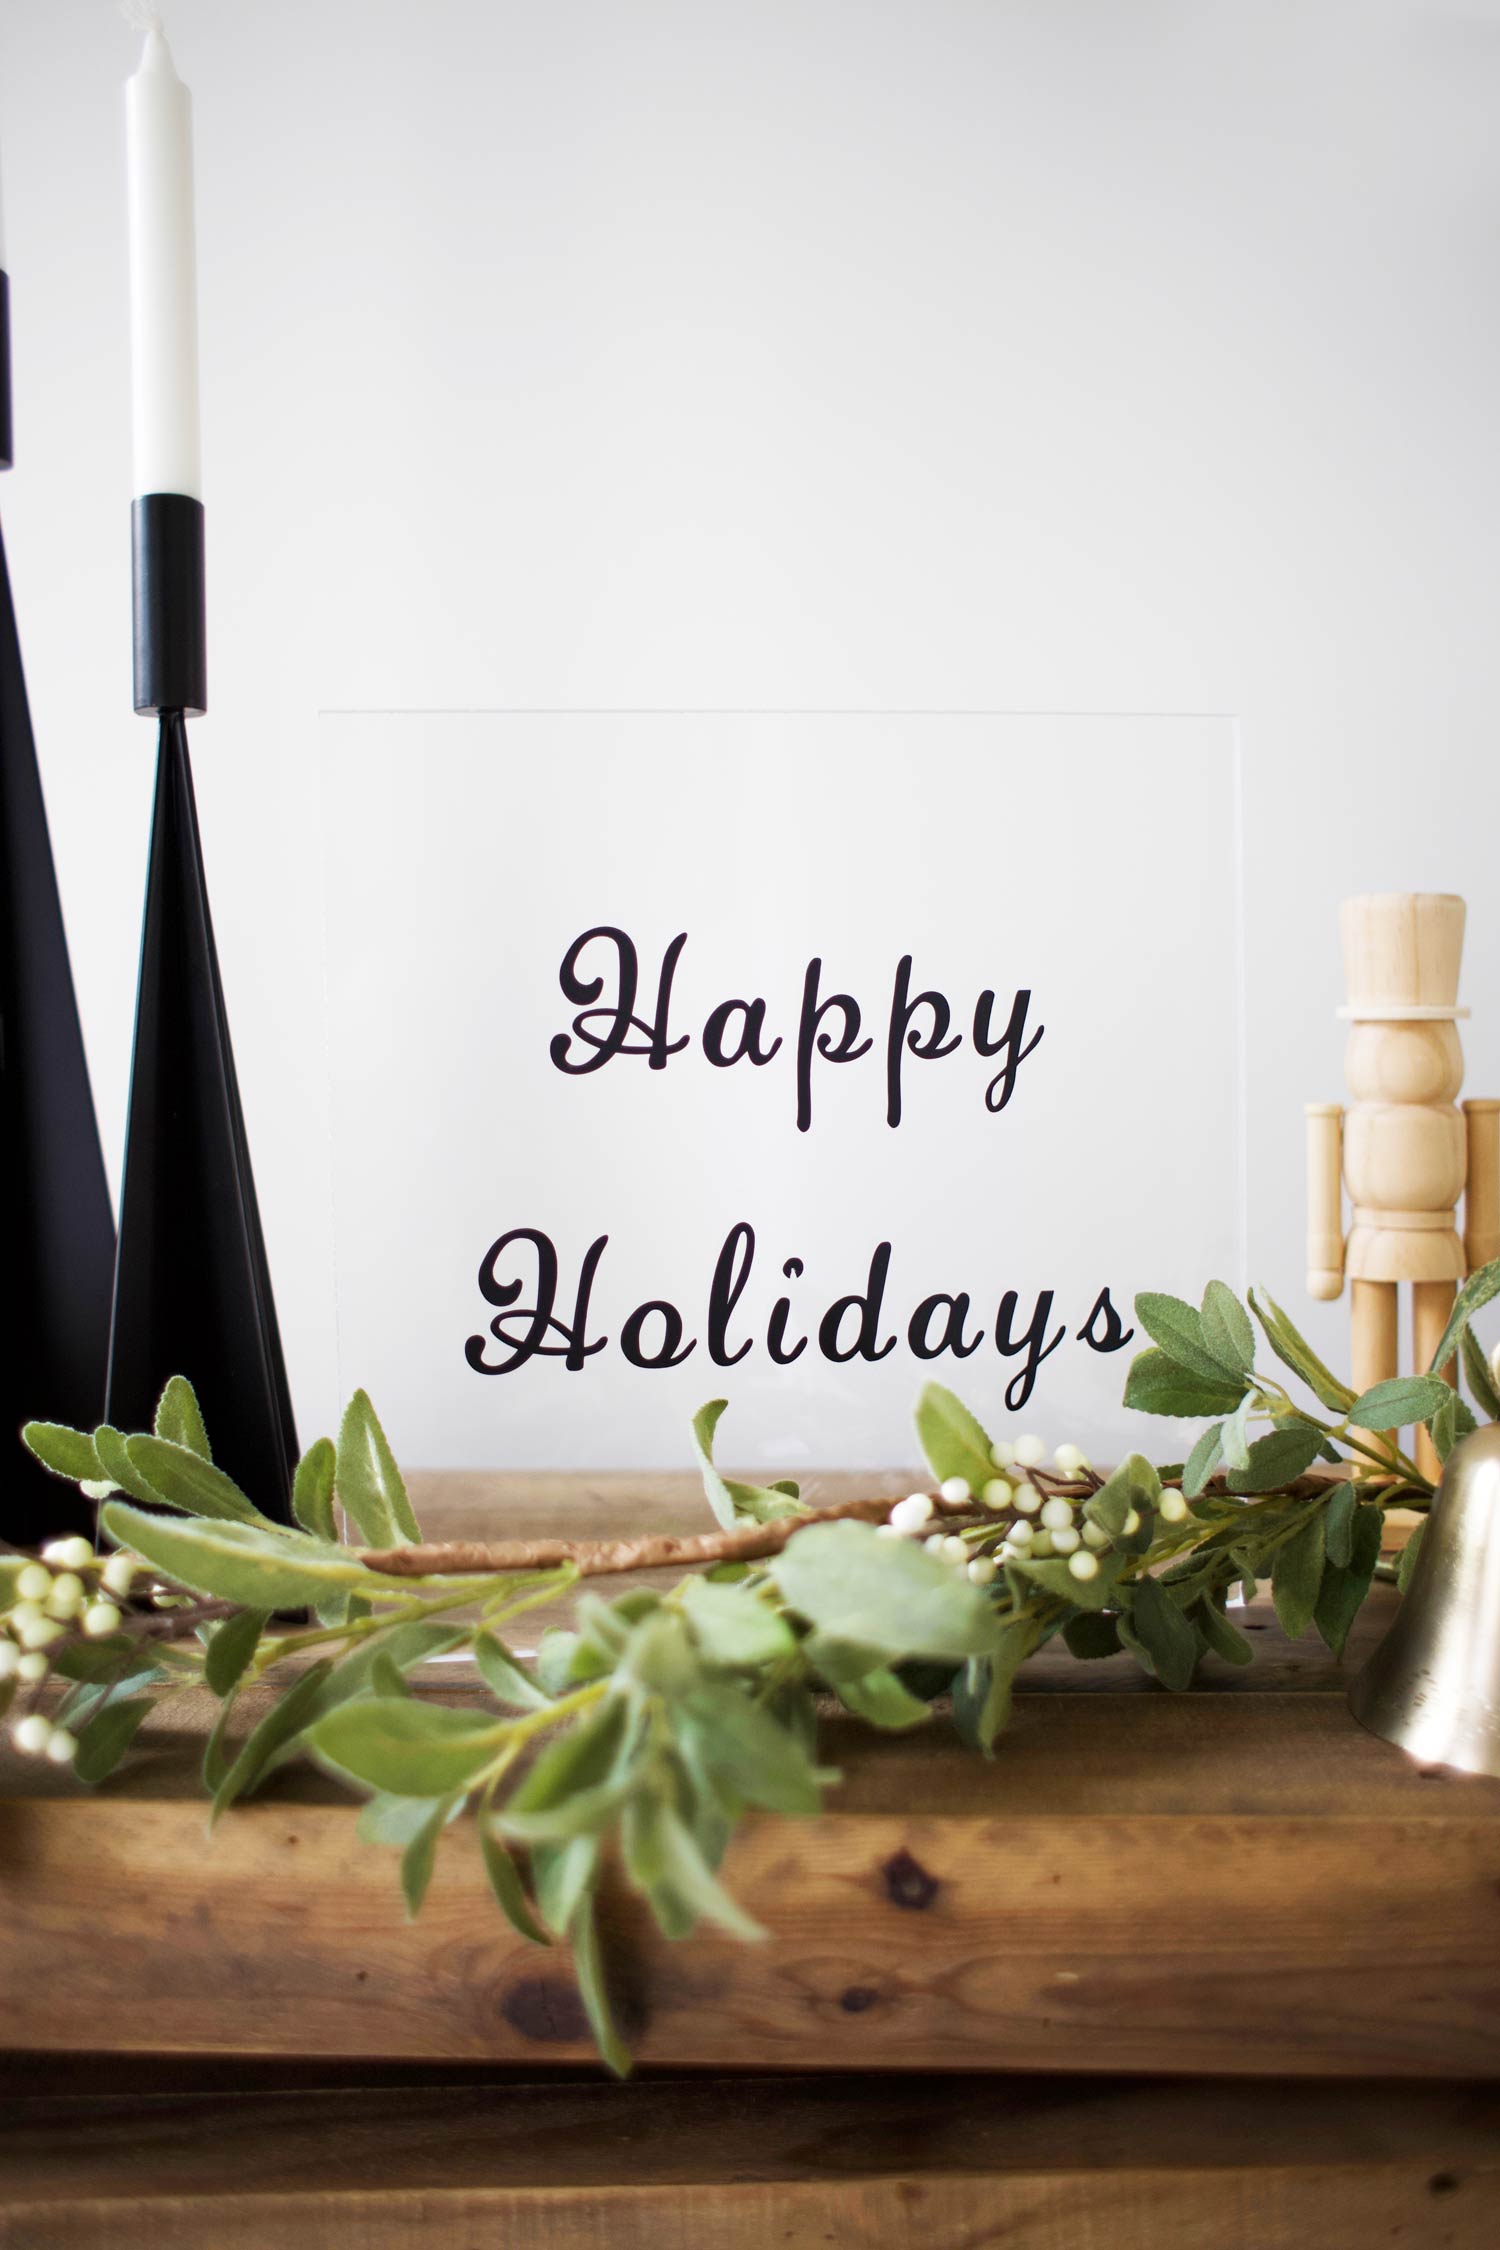
DIY Acrylic Christmas Sign
I'm super excited about how this DIY Christmas sign turned out! I really love it. It's a modern Christmas idea that will take you about 5 minutes to create. You can display this standing up or flat. It will balance on its own standing up, or you can use a small bookend, paperweight, or stand behind it for extra support.
Here it is in all its glory flat on the table. DIY holiday ideas are so much fun! You can brag that you made this sign when people ask where it's from! Here is how to create one.
SUPPLIES
12" x 12" x .5" acrylic sheet
stickers or holiday decal (if you don't have a Cricut)
Cricut vinyl midnight
Cricut Explore One
INSTRUCTIONS
To make this DIY Happy Holidays sign, first order a 12 x 12 acrylic sheet. The thicker sheet you get the better, so it can stand up on its own. I got my sheet through FreckleFace.com. I had ordered the acrylic sheet for this DIY calendar from there, and they are just great.
Using a Cricut Explore
Next, if you have a Cricut Explore, using the Quarter Note text, spell out Happy Holidays in Cricut Design Space. Center + size the text about 11" long if you are using a 12" x 12" acrylic sheet. Cut out the text onto black vinyl using your machine. Using the transfer tape transfer the text onto your acrylic sheet making sure the lines are level.
Using Stickers or a Decal
If you do not have a Cricut Explore, simply use stickers or a holiday decal (links in supplies) to stick onto the acrylic sheet.
An easy Christmas DIY is my favorite kind of Christmas DIY.
I'd love to hear what other DIY Christmas signs you have! Let me know in the comments below. If you find this post helpful, I would love it if you subscribe below! Subscribers get exclusive DIYs and a free party printable collection just for signing up!


