


I am all about reclaimed wood, so it absolutely made me giddy when I thought of a way I could include reclaimed wood into my Christmas decor. Enter this delightful "JOY" DIY Christmas Sign. The full tutorial is below. Note, this can also be made with 2 x 4s if you don't have any access to reclaimed wood. Chances are though there is a local spot that sells reclaimed wood in your area. Or you can always check for some abandoned barns (well, maybe be careful on that one).

1. 4 Reclaimed Wood pieces or 2 x 4s (if you are going the 2 x 4 route, you can use this awesome gray stain … we used this stain on the shelves you see in this post, and they turned out amazing!)
2. Paper Mache Letters - J | O | Y (you can also get these at JoAnn's, but often they are out of certain letters)
3. 6 Long Paint Stir Sticks (free at Home Depot)
5. Several Small Nails (just a little bit smaller in length than the thickness of your reclaimed wood and paint stir sticks combined)
6. Hammer


Cut wood into 1.5 feet pieces using a table saw or take it to Home Depot or your local hardware store to get it cut!

Line up wood four pieces high just the way you want them. Flip over and place 2 paint stirrers in the middle of the wood.
Nail paint stirrers to each piece of wood using a hammer.

Note there should be two paint stirrers side by side (unlike this photo). Nail picture hanger to the top of the paint stirrers.

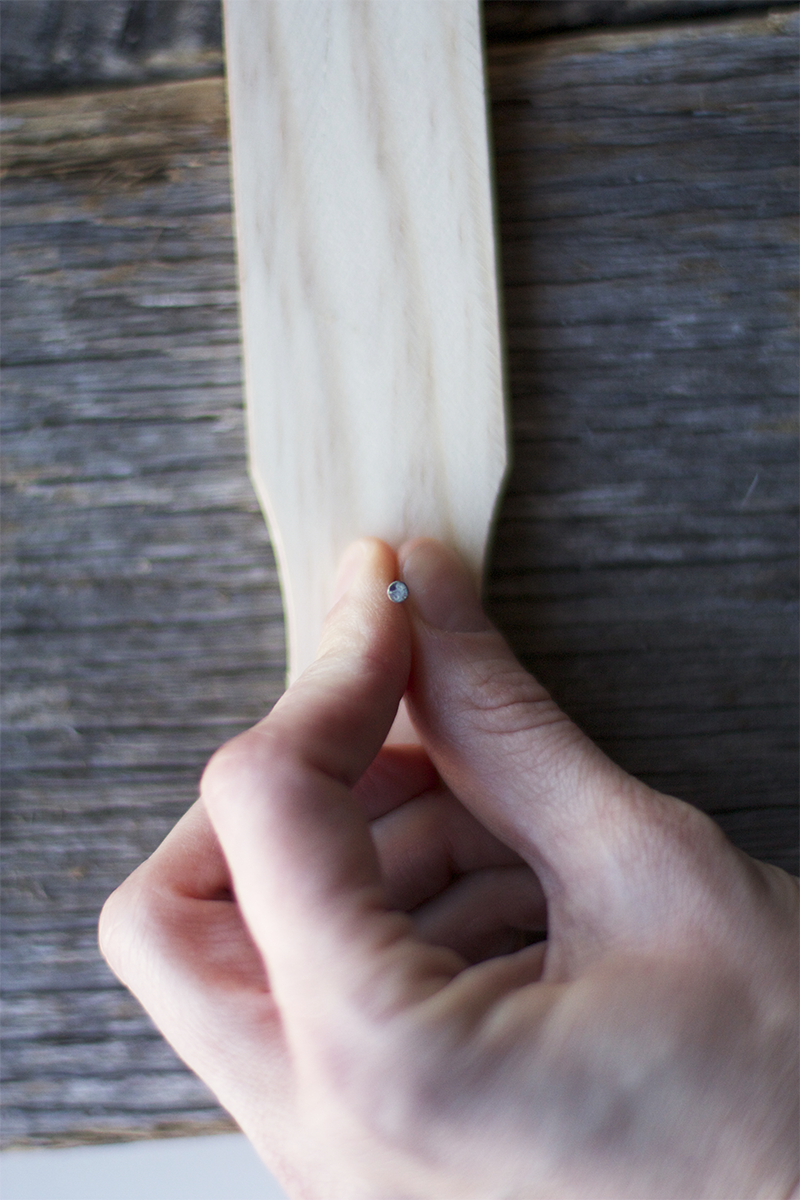
Poke a hole for a nail in the top backside of the lettter.

Hammer a nail in the wood where the hole in the letter will fit over. Note for some of the letters like the J you will need to put another hole at the top of the J curve so it hangs straight. Hang letters and hang signs!


Have Yourself A Merry Little Christmas
5 Minute DIY Christmas Coasters
Related Posts


